

Disclosure: Thank you to Wayfair and Collective Voice for sponsoring today’s post. All items were chosen by Katy, Content Creator at LIY.
It’s the mostttt wonderfullll timeeee of the yearrrr 🎶 and thanks to Wayfair’s cyber week sales it’s even better! Black Friday and Cyber Monday didn’t end last weekend because Wayfair extended the sale ALL WEEK! Up to 70% off SO many goodies including holiday decor, area rugs, kitchen favorites, furniture, and more! I [hi, Katy here!] truly can’t believe that it’s already the holiday season and I got in the spirit by putting up my dream Christmas tree with all of my sale finds! 🎄 Turn up the tunes and get your decorating pants on because I am sharing tips for styling your tree, along with some other decor picks] here!
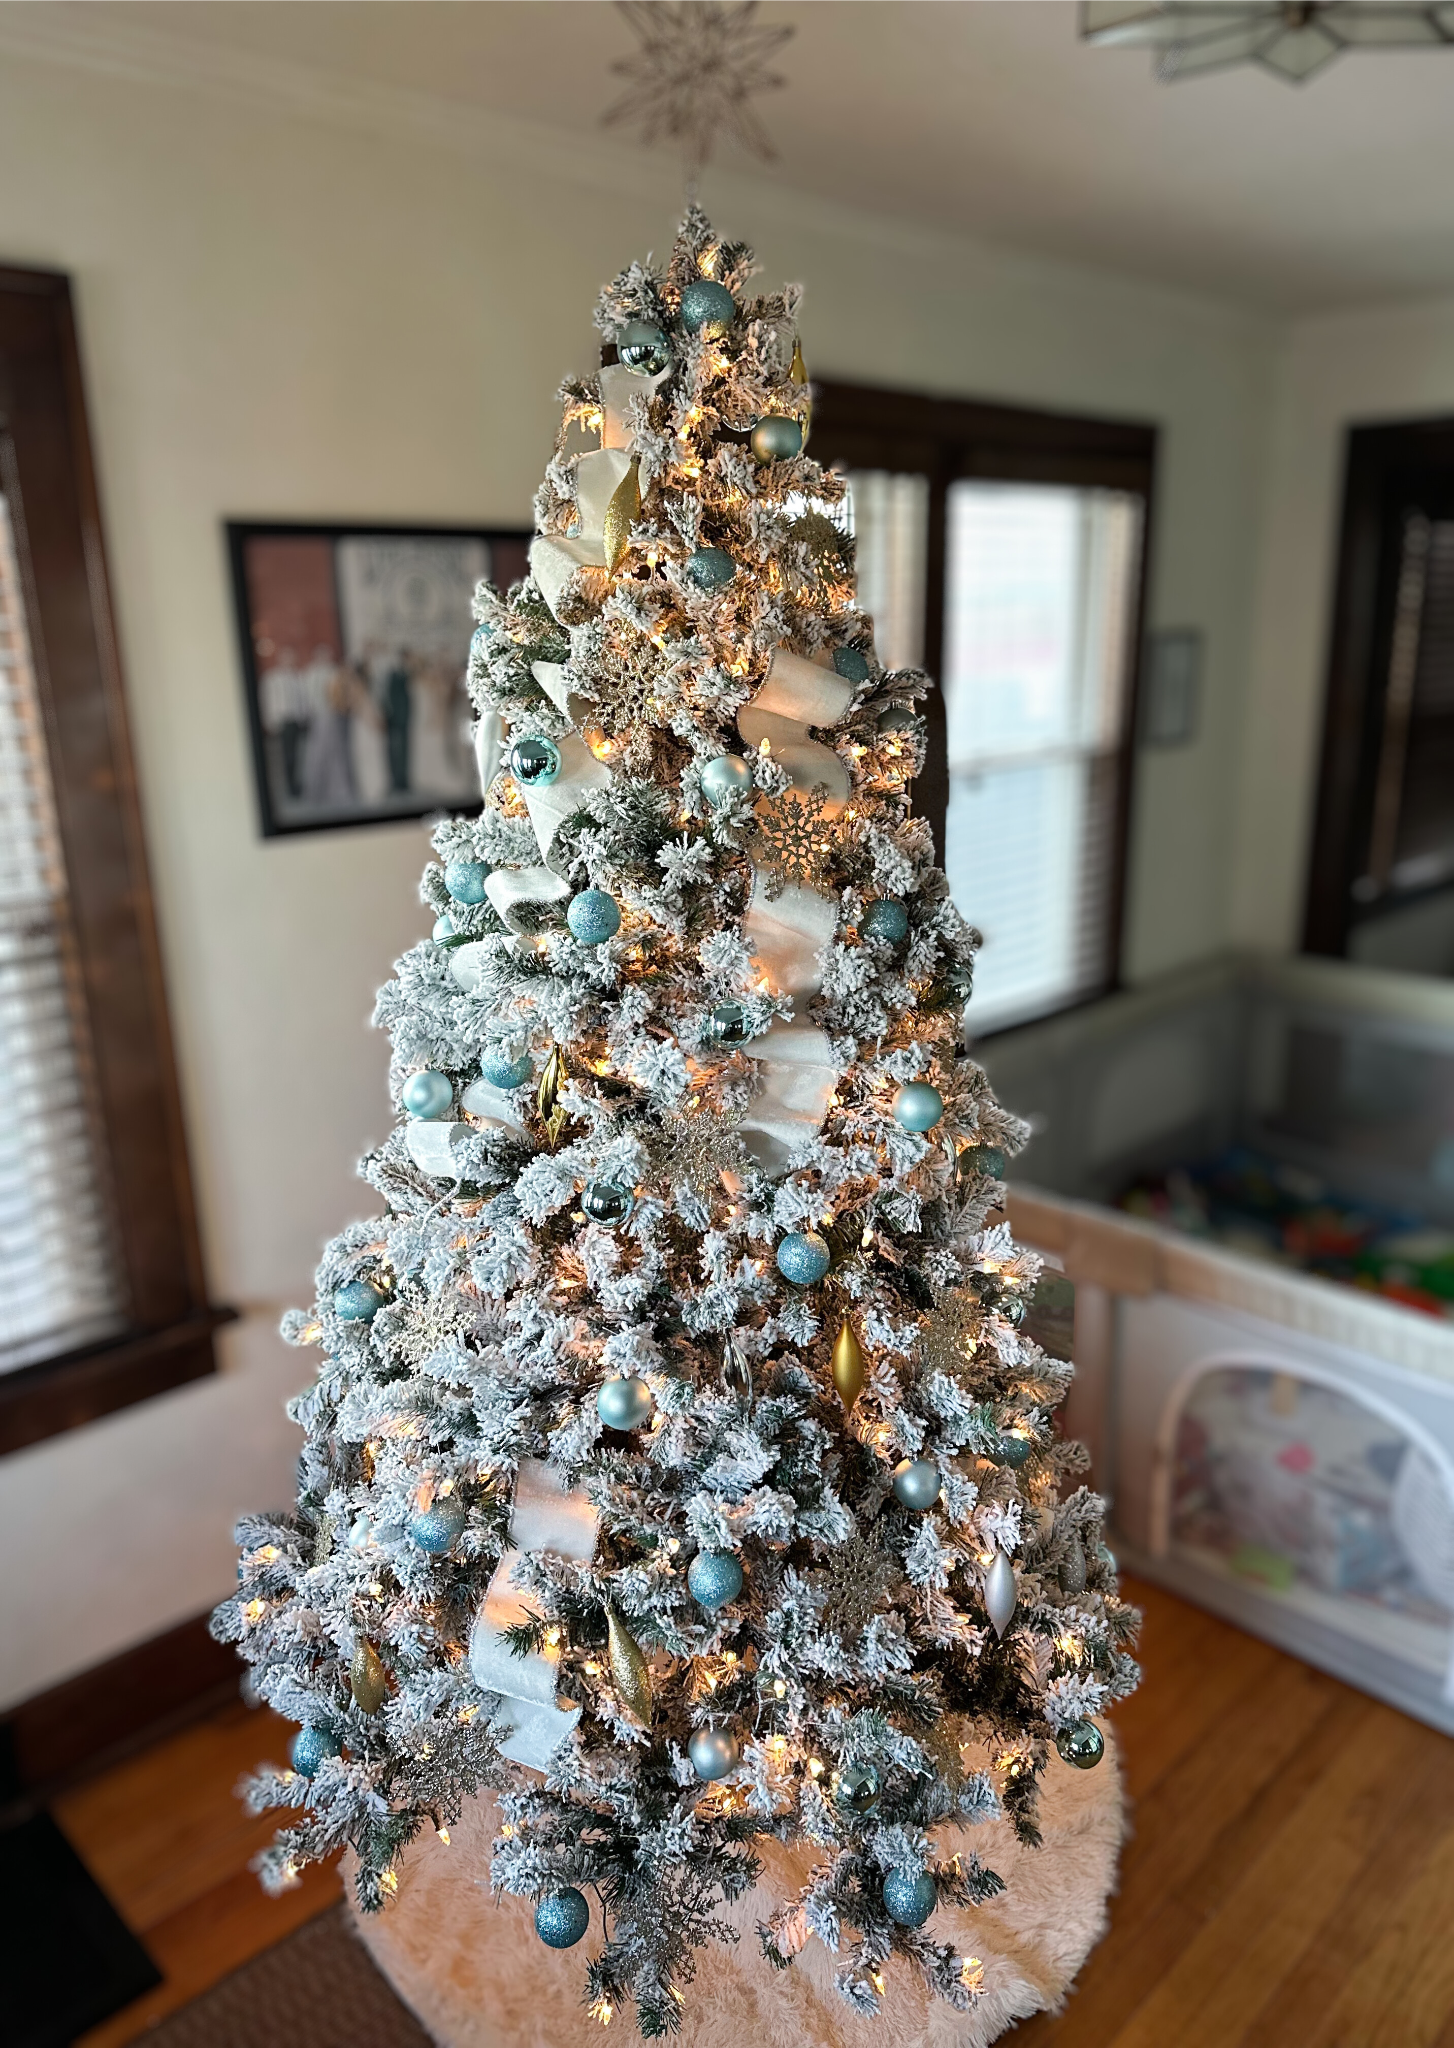
Ball Ornaments [Baby Blue] // Drop Ornaments [gold and silver] // Glitter Snowflake Ornaments [champagne] // Ribbon [4″x4″, Ivory] // Flocked Tree [7.5′] // Tree Skirt // Star Tree Topper
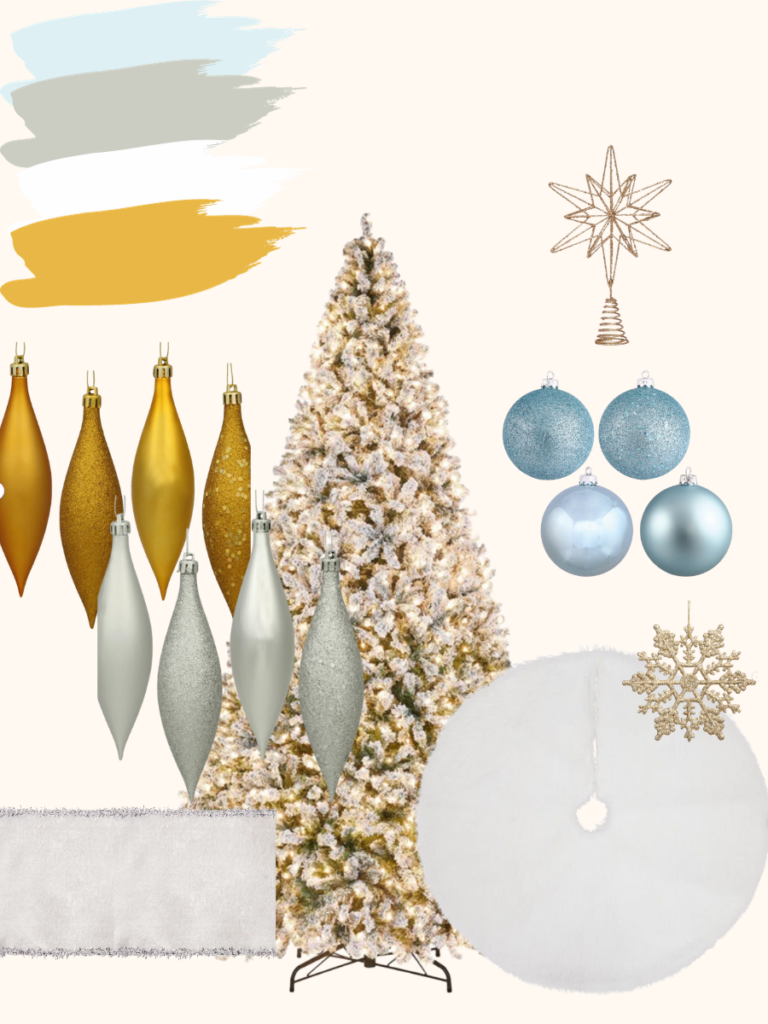
Blame it on my love of the “snow scene” from the Nutcracker Ballet growing up, but I have always wanted to do a baby blue Christmas tree! For my color scheme this year I did baby blue, white, silver, and gold! For this reason, I knew I wanted a flocked tree for that cozy, white base! There are SO many fun directions you can go with a tree: traditional, glam, whimsical, movie or food themed, etc.
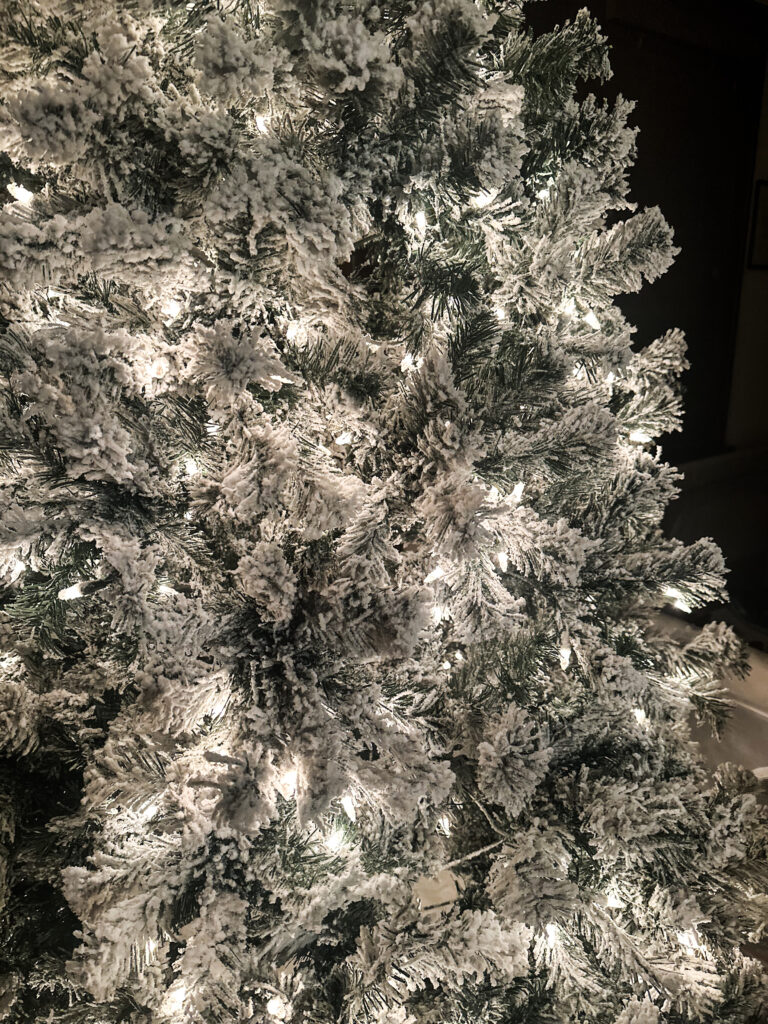
Be sure to fluff and spread all of the branches on your tree to give it that lush and full look!
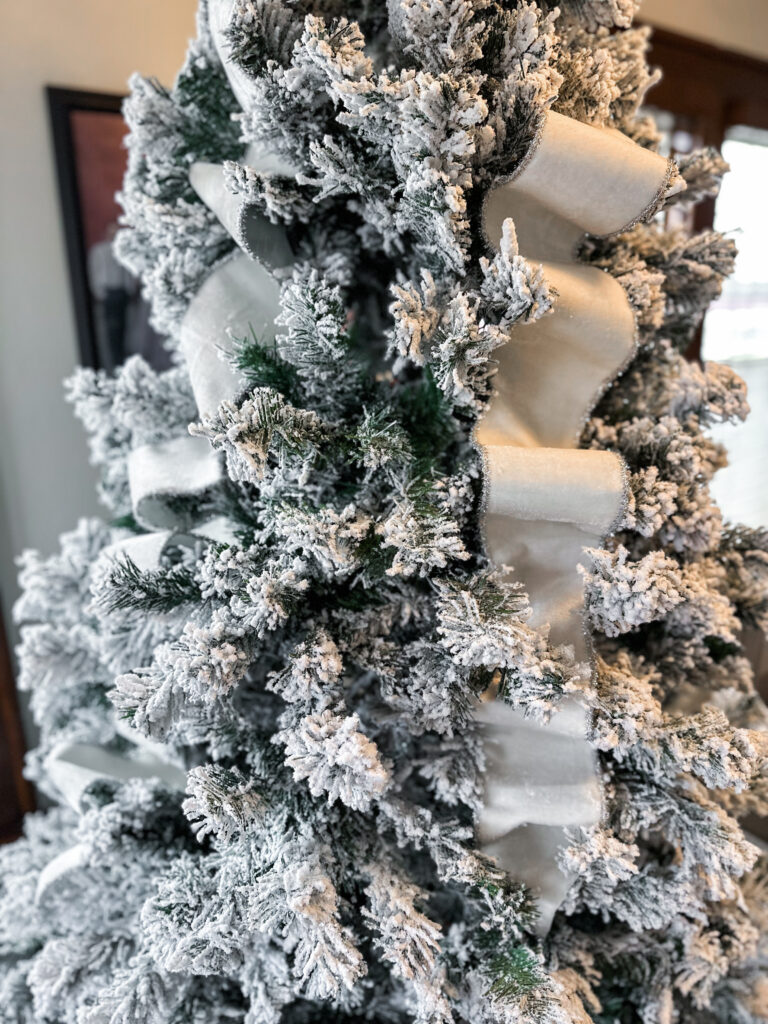
There are so many options for ribbon sizes, colors, patterns, and ways to use it as part of your tree decor! Remember there’s no right or wrong way; so you can get creative here! For my ribbon I went with this white velvet ribbon [it’s also shiny silver on the other side, so I will keep that in mind for future decor!] and tucked it into various parts of my tree! Note: I didn’t go from the top to the bottom for every section of ribbon I used. Some were from just halfway down etc.! I also cut the bottom of my ribbon at a 45 degree angle to give it more a “finished” feel.
p.s. you can also use a wire such as floral wire if you like the “bubble ribbon” look!
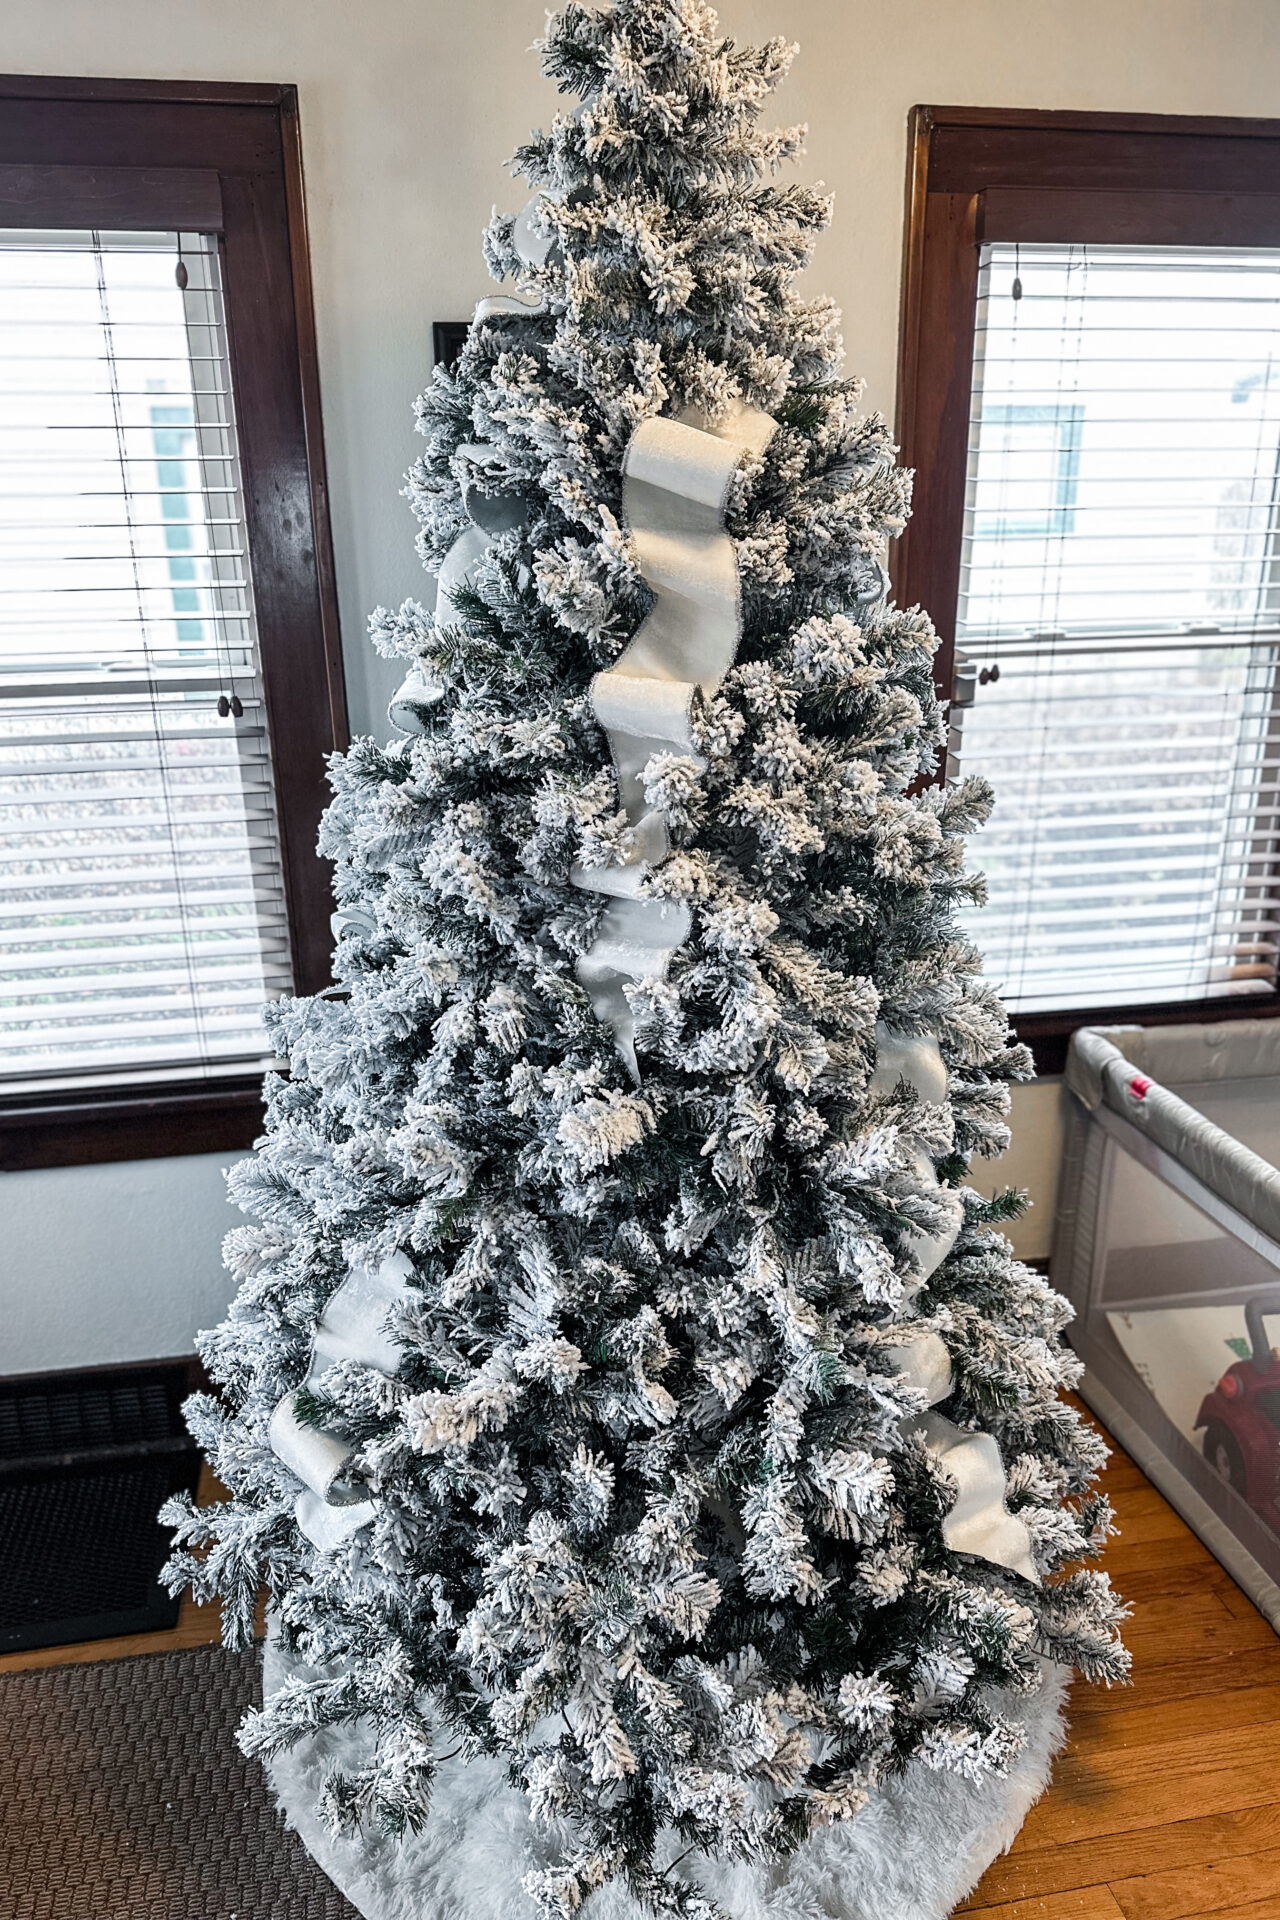
Ribbon [4″x4″, Ivory] // Flocked Tree [7.5′] // Tree Skirt
To give your tree dimension layer different colors, shapes, and textures of ornaments! I recommend placing all that you have of each type first before moving on to the next! This way you have a good assortment of the different types and have a better grasp of where to fill things in. I started with this 60 pack of ball ornaments in baby blue and love that they come in so many color options and different textures in the pack. After using those as the “bones” of decor, I added these glitter snowflake ornaments [2 packs in color champagne], and then filled in the rest of the tree with these drop ornaments in gold and silver [1 pack each]. For reference I used 100 ornaments total for a 7.5′ tree!
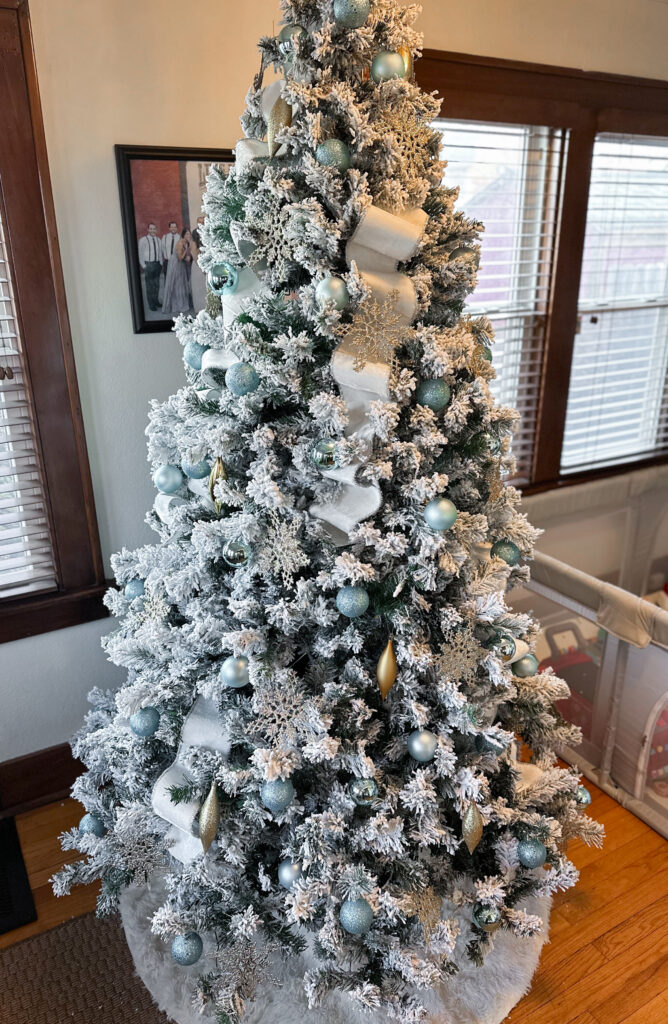
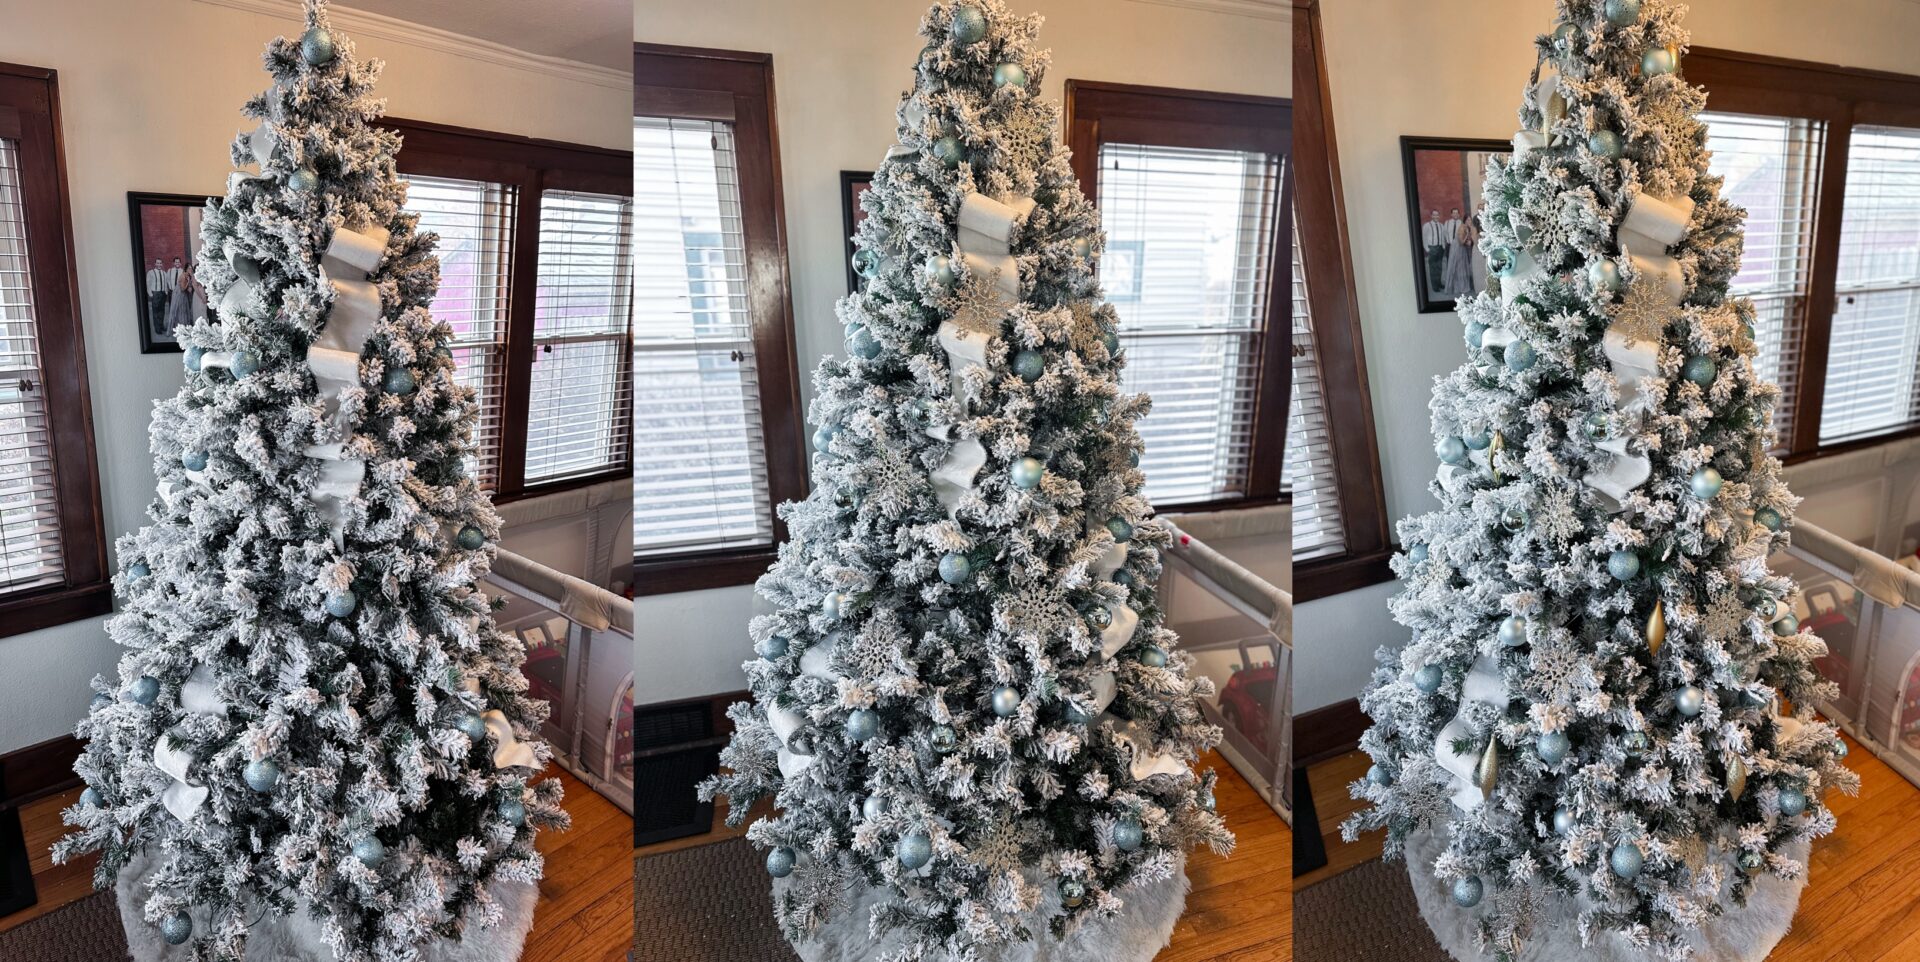
Ball Ornaments [Baby Blue] // Drop Ornaments [gold and silver] // Glitter Snowflake Ornaments [champagne] // Ribbon [4″x4″, Ivory] // Flocked Tree [7.5′] // Tree Skirt

Once again, the world is your oyster here with the way you want to bookend your tree! I went with this fuzzy tree skirt, but you could do something like this metal collar if that is more your vibe! I topped it off with this gold star [tip: bend the very top branch down to put your star on and pull surrounding branches up as support for heavier toppers! If needed you can also use wire or pipe cleaner to secure].
Ball Ornaments [Baby Blue] // Drop Ornaments [gold and silver] // Glitter Snowflake Ornaments [champagne] // Ribbon [4″x4″, Ivory] // Flocked Tree [7.5′] // Tree Skirt // Star Tree Topper
More Holiday Decor Picks…

Top Wreath // Top Table // Glitter Trees // 4′ Christmas Tree // Gift Decor // Bottom Wreath // Garland // Bottom Table

When Katy isn’t writing blog posts, offering up the latest style suggestions, leading our Ambassador program and sharing her most recent Amazon finds, you can find her doing what she does best – belting out her note-worthy vocals in her band, Maybe April. This Enneagram 3 can be found cheering on the Arkansas Razorbacks, venturing out on the latest & greatest outdoor adventure, spending time with her family and friends and crafting up her beloved homemade lattes most mornings. Katy and her hubby just welcomed baby Denver to the family!