

There are very few things I could say that would convince you that making a grocery list is fun. What I can tell you is that, with Apple’s new iOS 17 software, it’s easier than before to make and maintain a grocery list.
In Apple’s Reminders, you can now create a dedicated grocery list, where your shopping list can live permanently — no more making a new list in your Notes or texts every week. These new grocery lists in Reminders combine all the best parts of regular reminders with new features that make creating a grocery list less painful. If you’re looking for the quickest, easiest way to simplify your grocery trips, this is it.
Here’s how to create grocery lists in Reminders:
- Open Reminders.
- Tap Add List in bottom right corner.
- Under List Type, select Groceries from the dropdown menu.
- Name the list and choose its icon symbol and color.
- Click Done in the upper right corner.
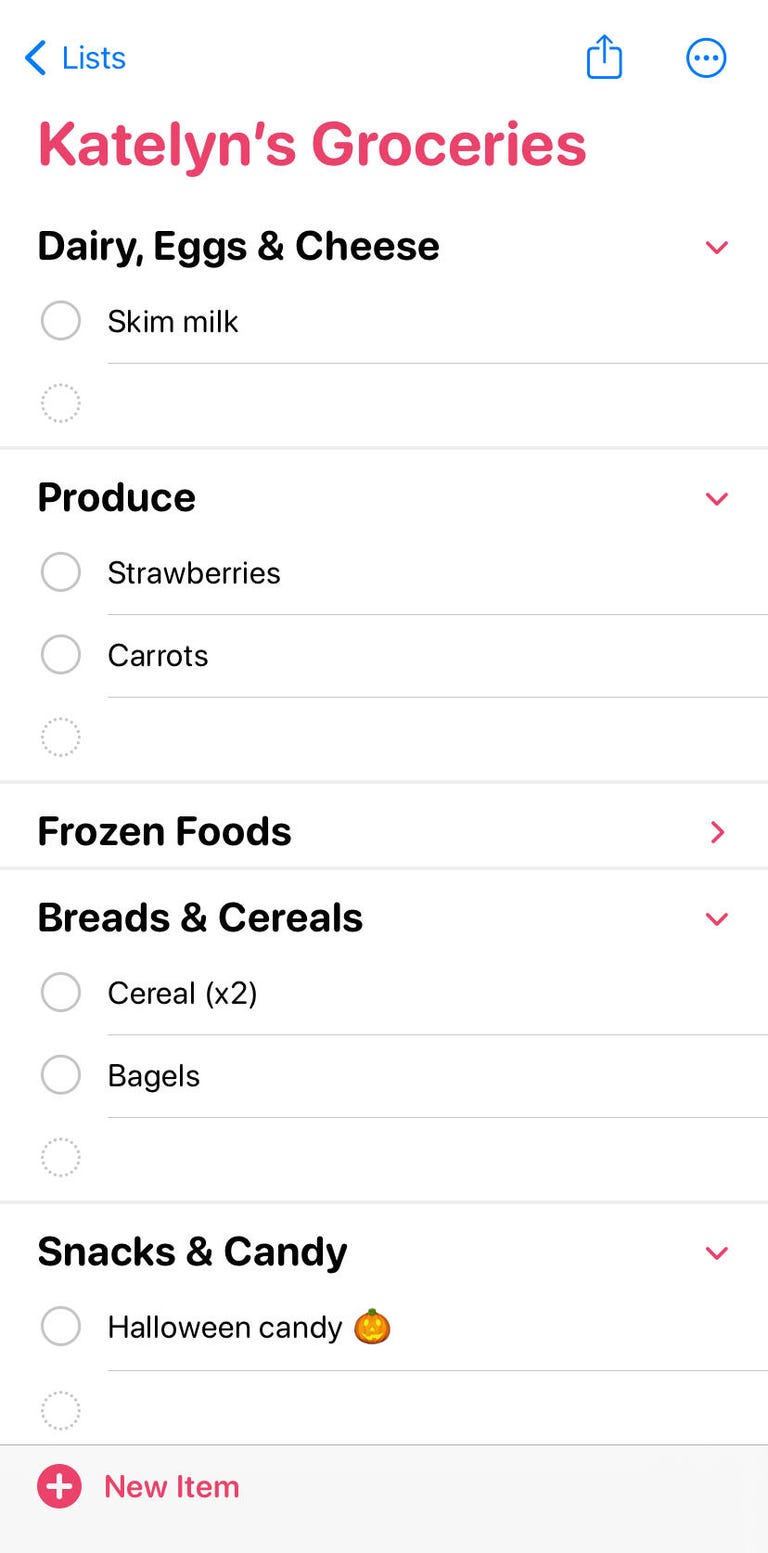
Once you have your list, you can add your items by tapping New Item in the bottom left corner. Because this is a dedicated grocery list, items will automatically organize themselves into categories like produce, dairy, snacks and more.
In my testing, Apple categorized my items correctly 90% of the time. Occasionally, depending on how I phrased an item, it wouldn’t be able to recognize what it was. This was easily remedied by placing the main food word at the beginning of the item. Or you can just not bother and leave it uncategorized at the bottom of your list.
Customize and share your Reminders grocery list
To share your grocery list with someone else, simply tap the share button (a box with an up arrow) in the upper right corner.
There are two ways to view your grocery list: as a list or by columns. To toggle between views, tap the three dots in the upper right corner and change the view.
If you want to manually sort your items, you can do so by tapping the “i” icon next to the item, then tapping Section and selecting where you want it to be. This is also where you can create a new, custom section header. To edit the text of existing section headers, simply tap the text and type in your changes.
You can use the arrows next to each category heading to collapse and open each section. When the sections are collapsed, you can reorder sections by tapping and dragging them up and down the list. To see all the ways you can sort your grocery list, tap the three dots in the upper right corner and open the dropdown menu under Sort By.
Note that when you check off an item, it will automatically disappear from the list. If you want to see your completed items, click the three dots in the upper right corner and tap Show Completed.
Similar to other Reminders, you can add notes, priority level and time/date stamps to each item. To access these specific options, tap the item and click the “i” to see more options.
For more about iOS 17, check out how to use the new Check In feature, how to create live stickers and how to use Maps offline. All this and more lives on our iOS 17 cheat sheet, which is updated regularly with new explainers and how-to guides.