Spring & Summer are right around the corner and we could not be more excited! One thing we’re not so excited about? Shaving regularly. We can’t be the only ones who go a liiiittle longer between shaves in the winter, right? Whether you shave, wax, pluck, or zap – I think we can all agree the process of hair removal is a pain. That’s why the LIY Team took matters into our hands – and hairs, that is. 😉 We tested out several at-home hair removal tools + products and today, we’re sharing our honest thoughts! From the tweezers you must keep in your car at all times (trust us, it’s the best lighting for plucking!) to DIY sugar waxing (it’s not as scary as it sounds) here are the best products for at-home hair removal!
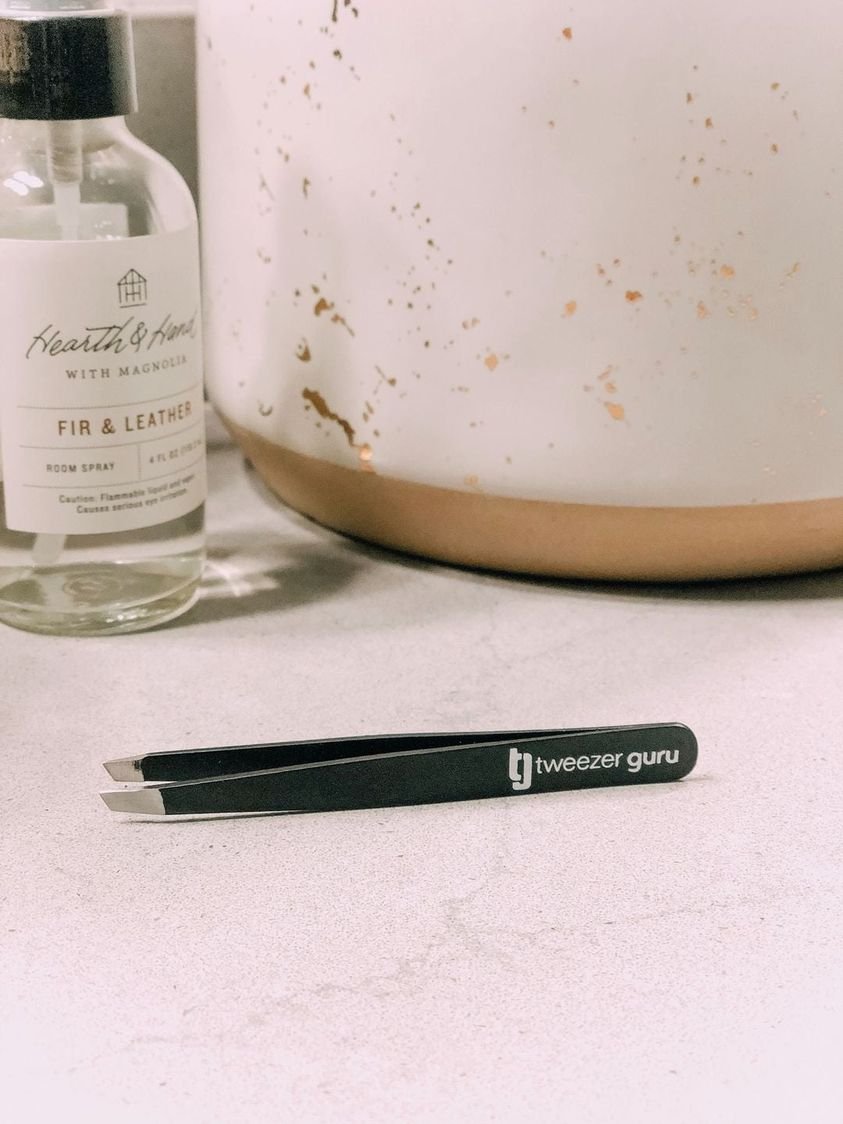
Call me crazy, but these tweezers are a MUST HAVE for my car! Hear me out! Find me a better situation for plucking your eyebrows! You cannot! The natural light from all angles while parked in the pickup line plus the super close mirror of the visor is a win win for keeping my brows [and chin – we’re all friends that can keep it real here, right?!] tidy and plucked!
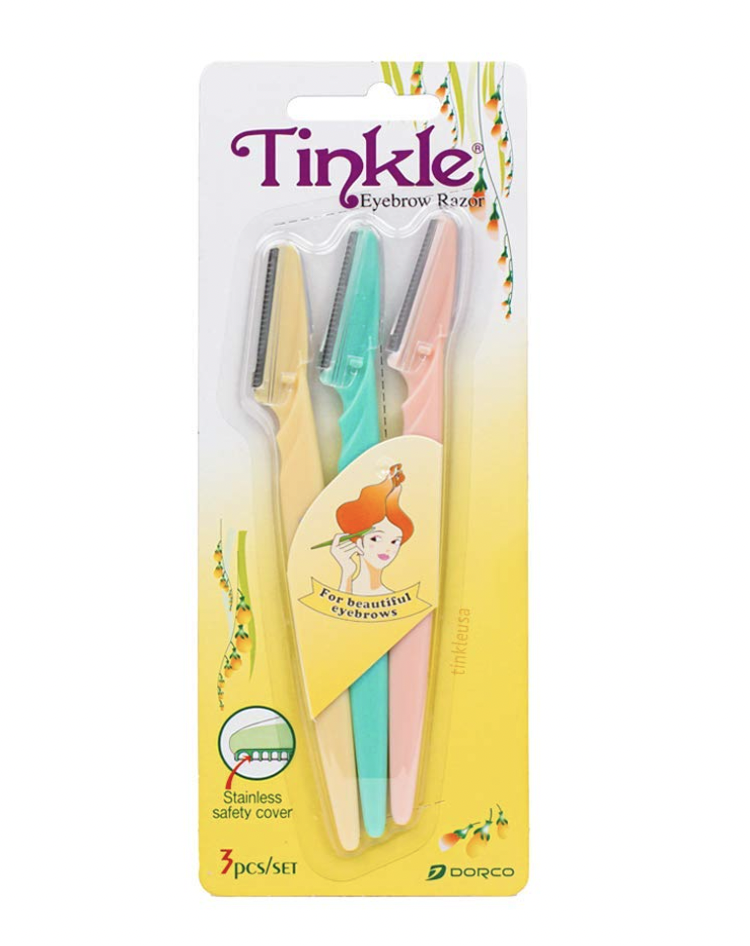
If you haven’t been using a razor to shave your peach fuzz, let us change your life! The majority of the LIY Team has been using these Tinkle Razors on our faces for years. While it won’t give you spa-quality dermaplaning treatment (leave that to the professionals), it will leave your skin silky smooth and makes makeup application a breeze! We use on our cheeks, chin, jaw, and upper lip and to very carefully touch up our brows!
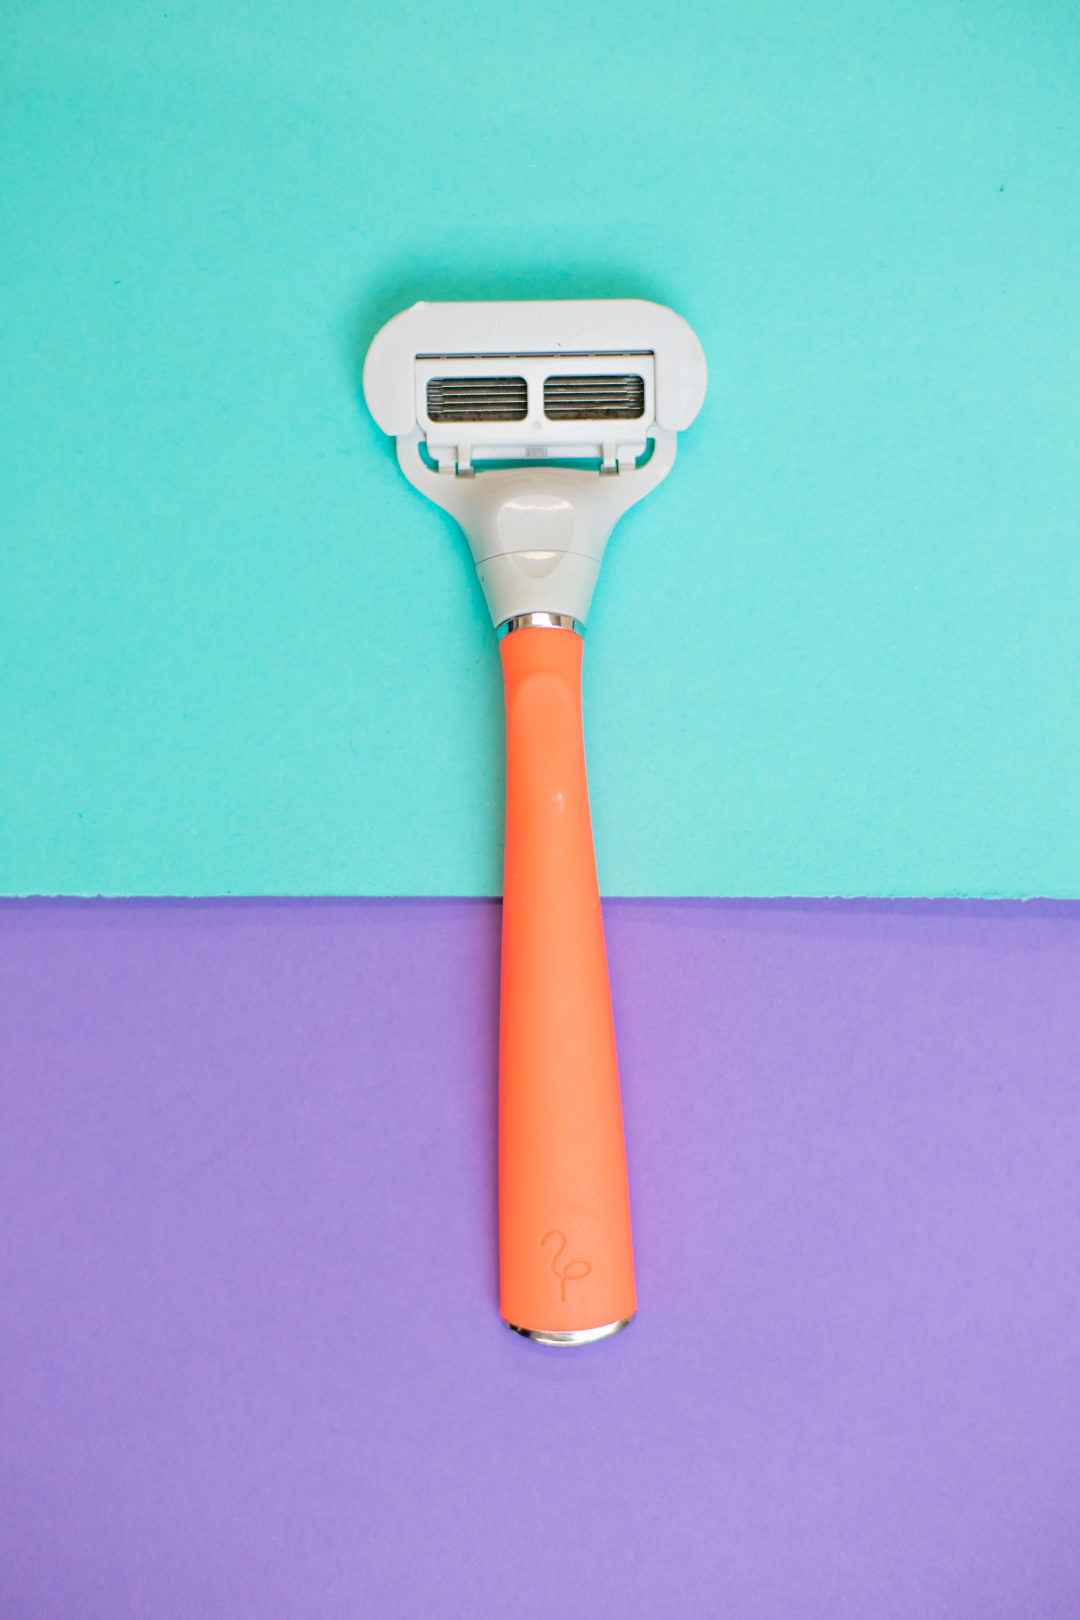
Our Top Pick // Read Our Full Razor Review Here
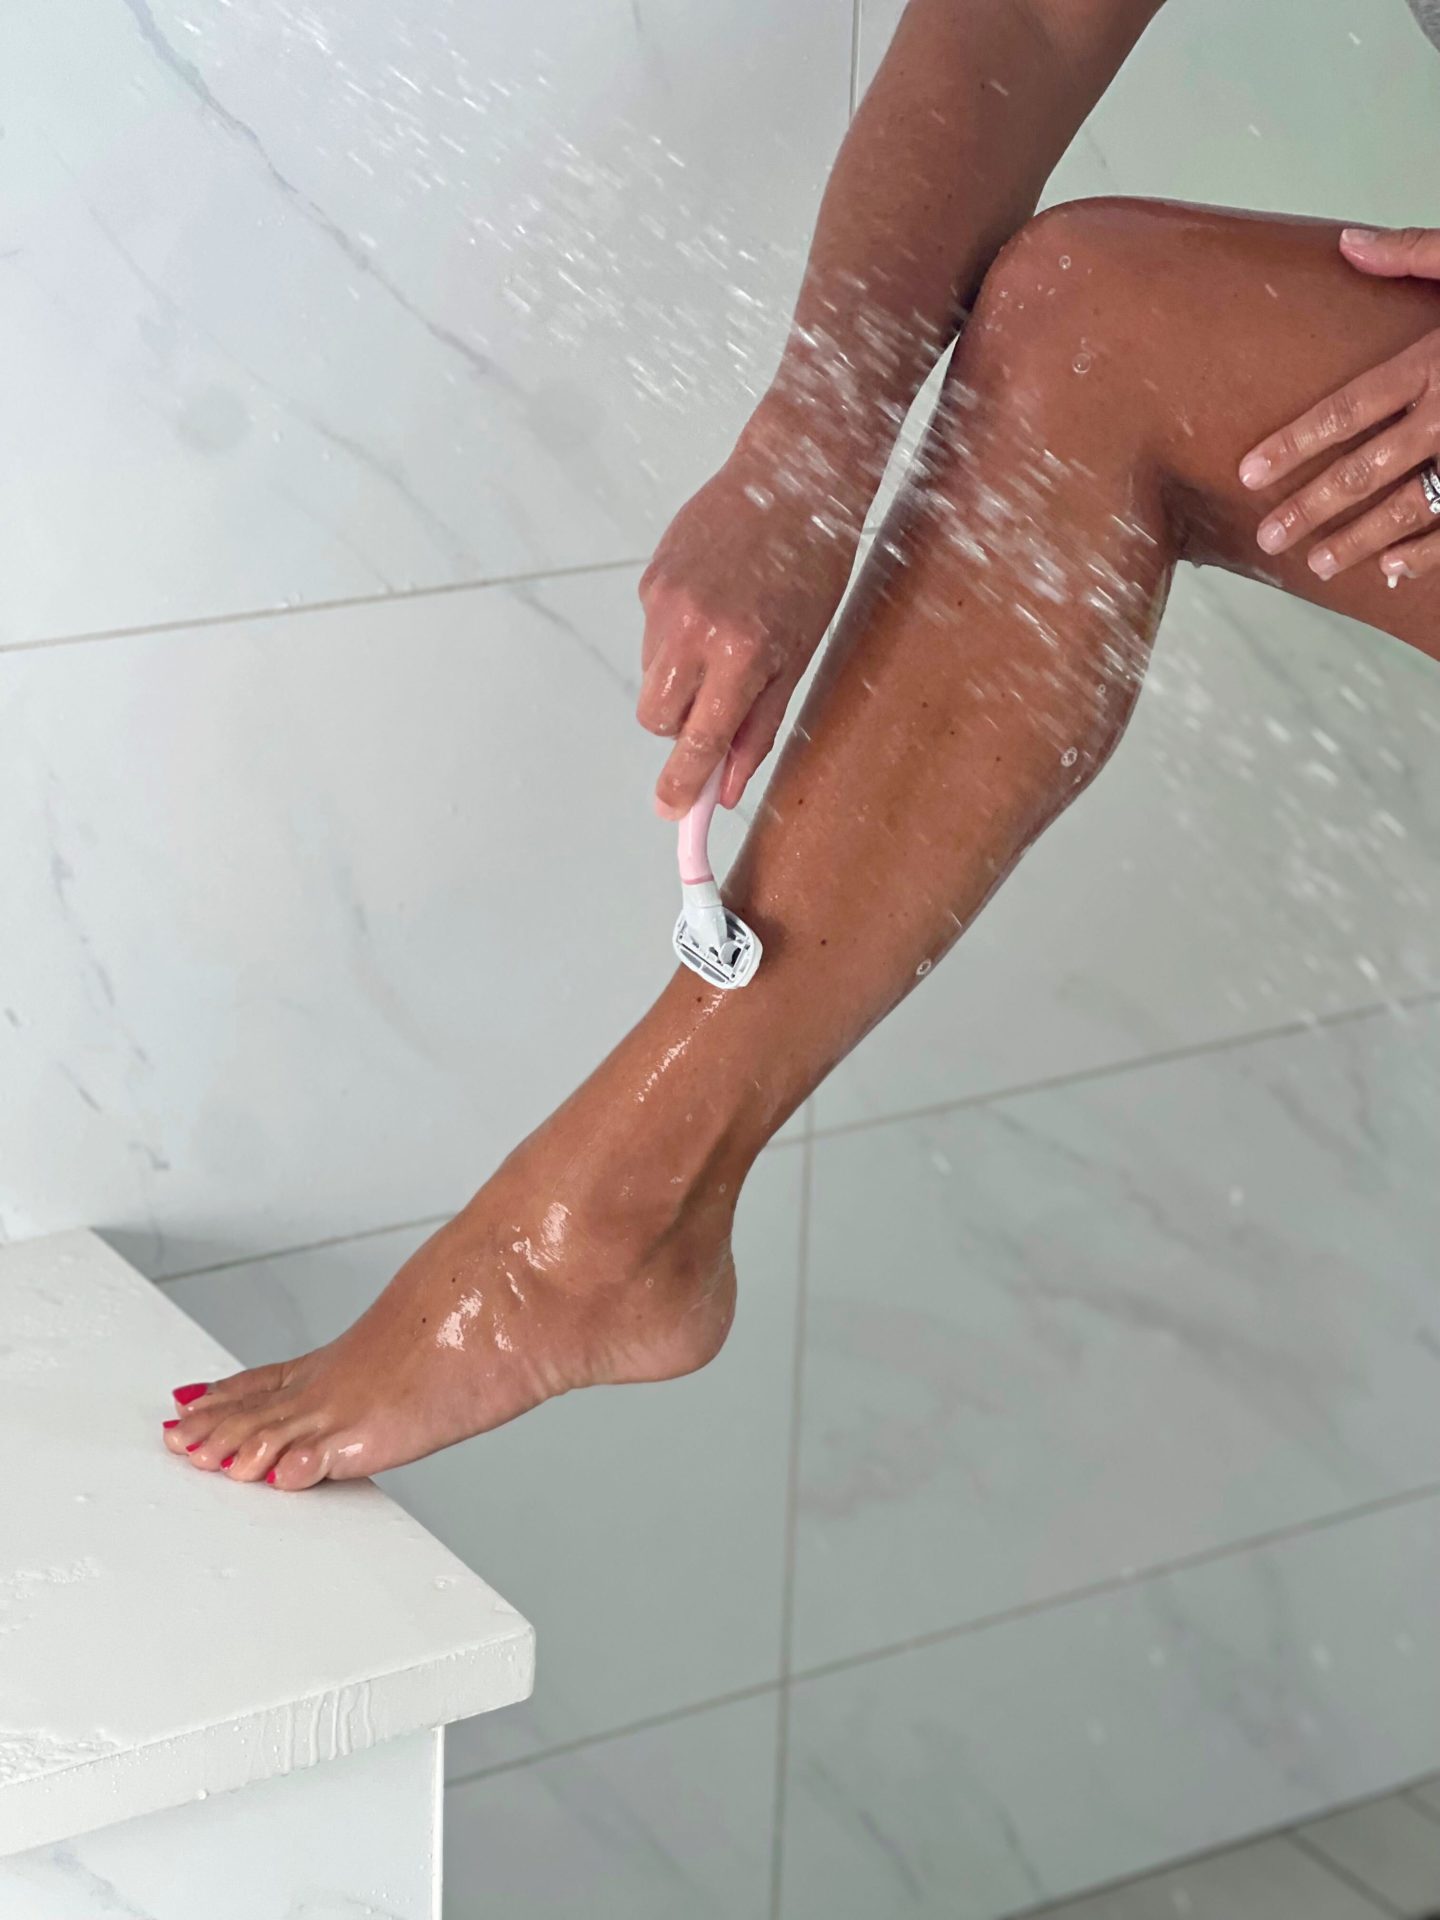
In case you missed it, Team LIY reviewed several popular women’s razors to find the best on the market! You can read the full review here, but to make a long story short; four out of four testers agreed: our legs have never felt smoother! This razor did a great job, and continued to do a great job after several shaves! It gave a nice close shave each time, with no razor bumps or burn! We didn’t feel like we needed to shave for several days which was a nice bonus. We also loved that the handle was a bit heavier [more of a sturdy razor], easy to grip, and it’s available in several fun bright colors – which makes every gal happy. It’s a great drugstore go-to [I found these at Target!] that several of us plan to continue using!
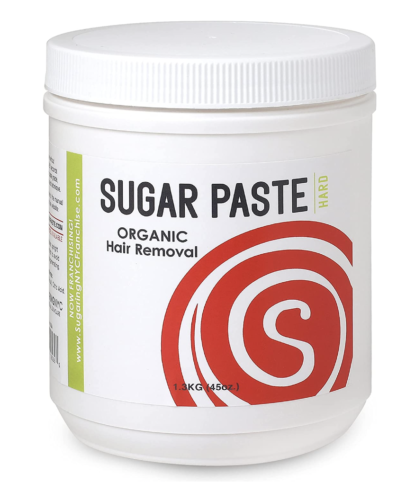
Claire here! Full disclaimer: I am NOT a professional. Proceed with caution here! If you’re someone who gets professional waxes regularly, you might feel pretty comfortable with the sugar wax process. Still, I read a lot of tips online (there are a ton of videos on YouTube, I found this one super helpful!) before DIY’ing this one! You’ll want your hair to be at least .25″ long (or long enough that you can pull it). Simply follow the instructions on the label by heating the wax in the microwave, let it cool a bit (until it’s about the same consistency as honey), then apply in the OPPOSITE direction your hair grows and quickly flick/rip in the direction your hair grows — the opposite way you applied the wax! Make sure your hands are clean or use fitted rubber gloves! Try it on a small area like your leg or the back of your hand for practice! Once you get the hang of it, this process is great for smaller areas like bikini line (NOT a full Brazilian, I don’t recommend trying that at home!), pits, tummy, toes…. wherever hair removal is needed!
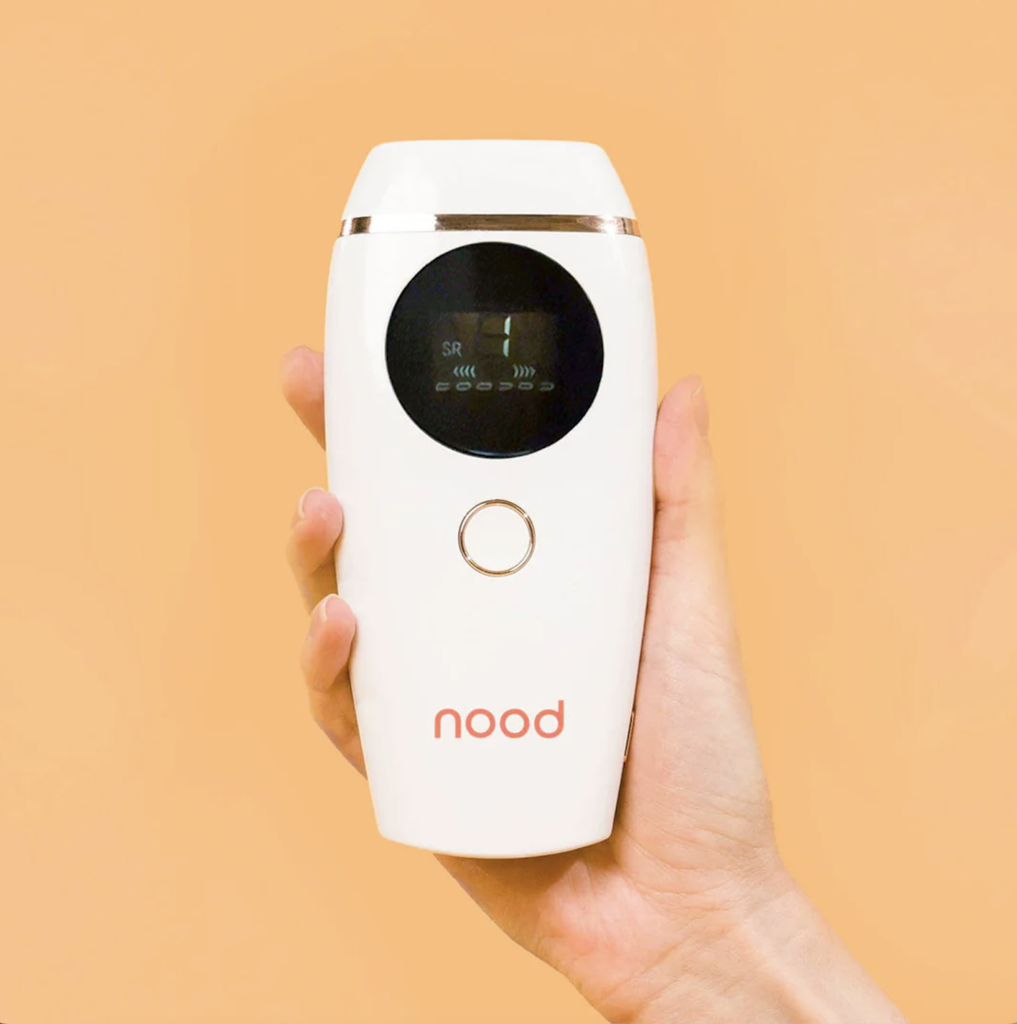
Jen here… ready to zap you full of information about this at-home laser hair removal tool. The Flasher 2.0 is quite[flashy] I’d say.. she comes packaged very cute and did arrive in great time! I would say that the company sets you up for success right out of the box. Being the person I am, I took to youtube to actually watch others on how to use this tool. Because honestly, I was a bit overwhelmed[and slightly nervous I was going to burn my skin or something!] Youtube had some wonderful how-to videos and I also joined the Nood Facebook Support Group “The Naked Truth” for extra insights as well. All that to say, I felt ready – ready to begin my 8 weeks test run.
What they “claim” results in 8 weeks of less, works everywhere that hair grows, FDA approved, 90-day money back guarantee, pain-free & light based.
Where I tested: My Lower Legs and Armpits
Take note: Check the website to make sure your color of hair will work in order with this at-home tool.
Tips: 1. Shave the area on your plan on using this the day of or the day before. 2. There is a flash that occurs, so grab some eye protection if you want to protect them.
How often: Twice a week. I spaced these out and did my treatment about every 3 days! You do have to do 3 passes over the area during each session. Don’t forget you’ll want to shave the area you are focusing on before you do your treatment.
Did it hurt? It didn’t! I was scared at first, but started on low settings and worked my way up. Once you get the hang of it, it’s easy to knock out and work it into your routine!
Did it work? Is my hair gone, no. But is it thinning and not growing back as thick or quick, I would say yes! I’ve done it for 6 weeks, they do say to give it a full 8 weeks to get the full results.
Will I keep at it? I will, because why not?! The area I’ve seen the best results is my underarm so far. I will definitely start this on my bikini area now that I know how it works and such – to get ready for Summer! I’ll be sure to come back here and post a follow up re: my bikini area!
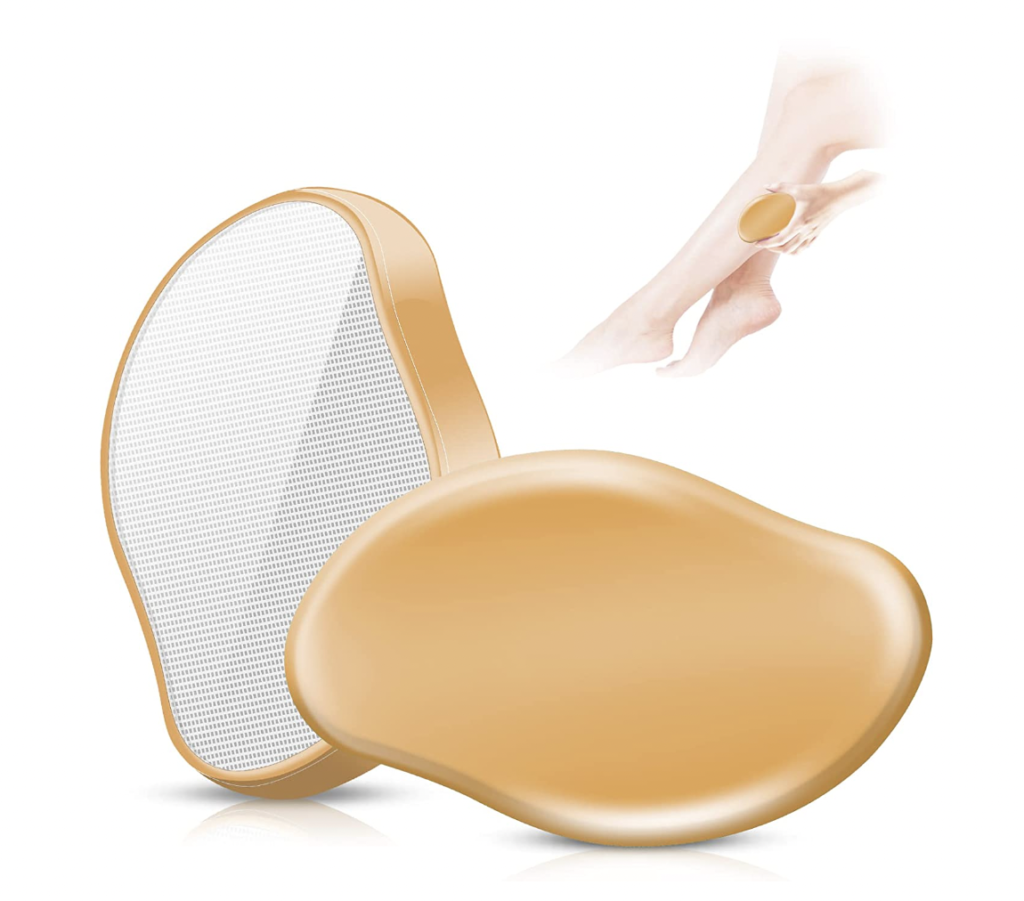
Cassidy here! This Crystal Hair Removal Eraser was trending all over the internet so I KNEW I had to try it! I have always struggled with razor burn/strawberry skin. Supposedly, this crystal is pain-free and reduces the signs of razor burn! When it comes to using this hair remover, the best practice is to clean and apply warm water to the area, pat dry, then use the crystal in a circular motion to remove hair. I found it was easiest to do it right after getting out of the shower! I tried using this Crystal Hair Removal Eraser was a little trickier than I thought. I felt it was harder to remove short hair [aka just a few days of growth on my legs]! I found myself going over the same areas to get the shorter areas! I did find that it dried my skin out quite a bit. I found the trick was to apply a warm towel to the area after removing the hair. After removal, I did notice some strawberry skin on the areas that I had to go over more than a few times, but not as bad as typical razor burn. I think my biggest complaint, was that it was actually taking more time and energy than just shaving while in the shower. When it came to the results, I truly felt that a razor got a closer shave which also means I am not shaving as often as using the crystal! For me, it wasn’t a complete fail but it also wasn’t enough to make me break up with my razor!
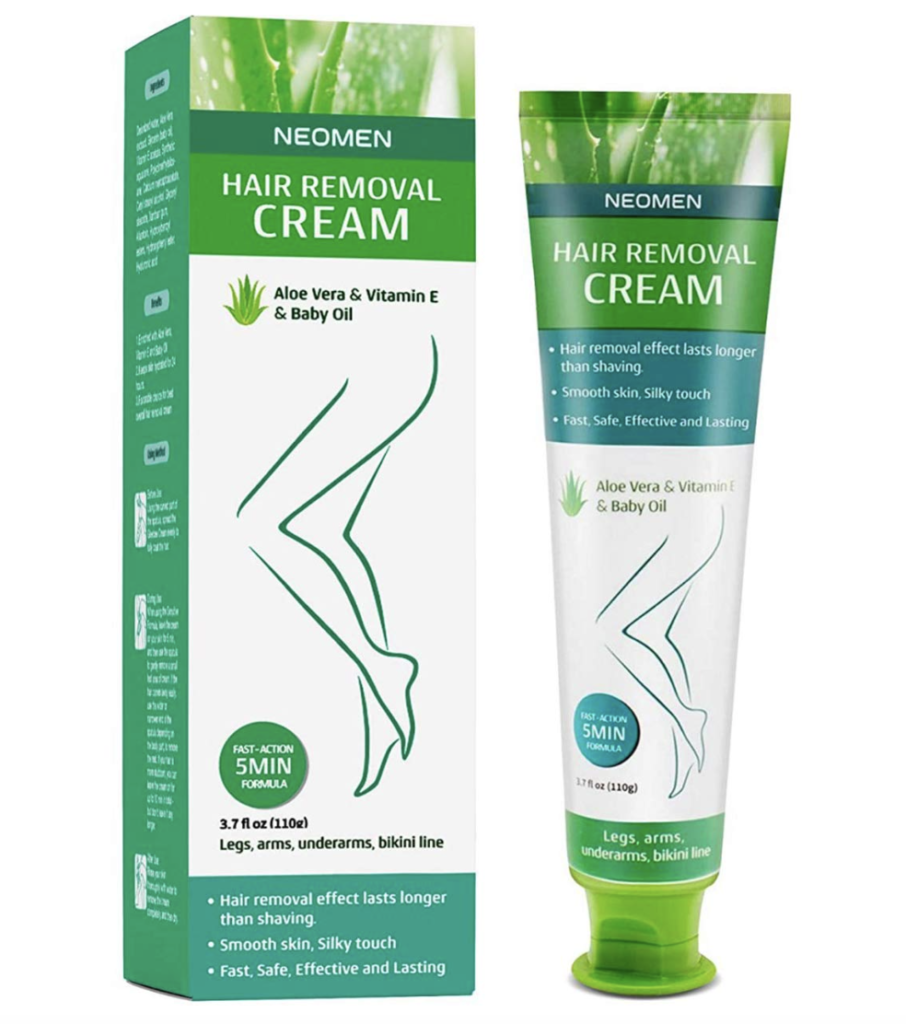
Neomen Hair Removal Hair Cream
Lauren here with my results from testing Neomen Hair Removal Cream. In quick summary, I wouldn’t recommend it. I have waxed, I have sugar waxed, I have lasered, I have shaved, and so I was excited to try this for my legs! Unfortunately, it just didn’t work for me any of the times I tried. While it states to leave it on for 5 minutes, no more than 10 minutes, I still wasn’t seeing any progress after 10 minutes! Around 12 minutes [rule breaker] I started to see a bit of action, with it removing maybe 1/3 of the hair. Onto trying to find something that works!
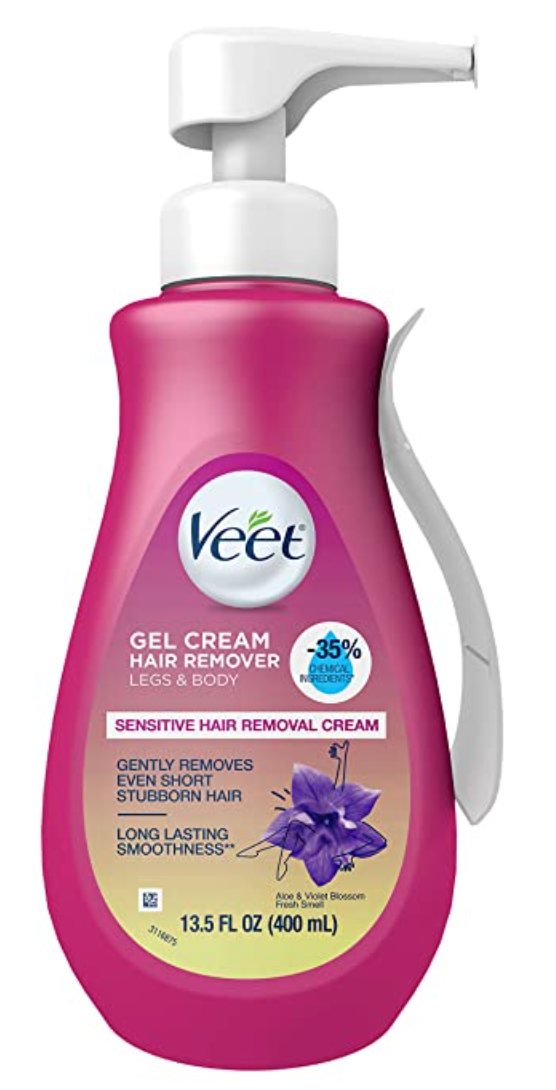
Veet Sensitive Hair Removal Cream
Steph here! I’m normally a wax girl, because starting a few inches above my knees I get horrible razor burn if I shave, thanks to my horribly sensitive skin. Since my skin is so sensitive, I started with just my lower legs just to play it safe. The initial 5 minutes suggested wasn’t long enough to remove my hair (note – my leg hair is coarse and dark), so I set the timer for a few more minutes [The directions are very clear not to exceed 10 minutes]. After 10 minutes almost all of the hair came off very easily. The few stragglers that remained came off right away in the shower.
The removal process can be quite messy. I recommend taking some paper towel or a rag into the bathroom to wipe the plastic scraper between rows. Veet Sensitive Hair Removal Cream is recommend for legs, toes, bikini line, arms and underarms. I was pleasantly surprised with the smell. Not that it smelled GOOD, but the smell was light and tolerable. All in all, I’d say the product worked okay, but I’m not ready to make the permanent switch from waxing because the process takes about the same amount of time and my legs were not as smooth as they are with waxing.
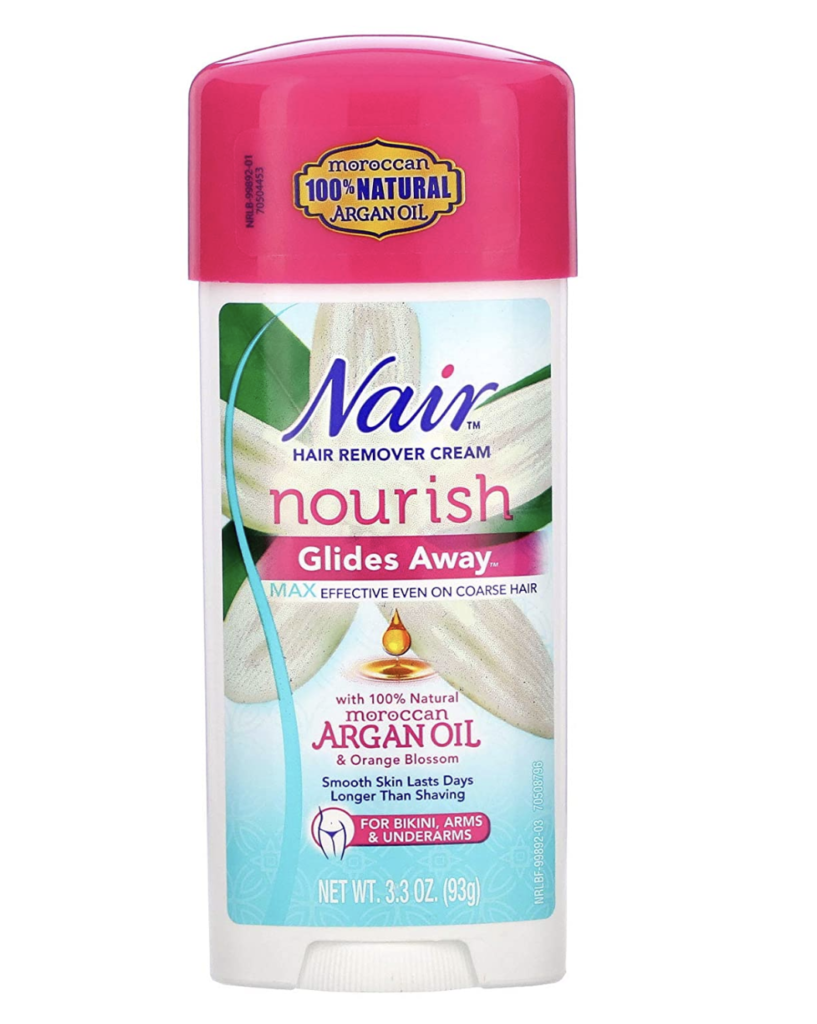
Erin here — I’ll admit. I was afraid to try this stuff. I’m not sure if it’s because the brand Nair just gives me flashbacks to my middle school days or maybe the memories of the scent [let’s be honest, it’s comparable to your grandma’s perm], however, I must say – I was very pleasantly surprised. I should state that I don’t believe I have sensitive skin, so if you do, you may want to try it in a small spot first. It goes on just like a deodorant which is nice that you don’t have to ever touch the cream – I used it on both my armpits and my bikini line and I can promise you that I will continue to use it on my bikini line regularly. You do want to apply a considerable amount and then let the product sit for 5 minutes or so and then take a wet washcloth and simply wipe it [along with your hair] away! No more razor burn for me, this product worked like a charm! Tip: I always use it before showering so I take the washcloth into the shower with me, wipe it away, and then proceed with soap to erase any hints of smell away!

